This post may contain affiliate links for which I earn a small commission at no extra cost to you. For more info, check out my Disclosure Policy. Thank you for your support!
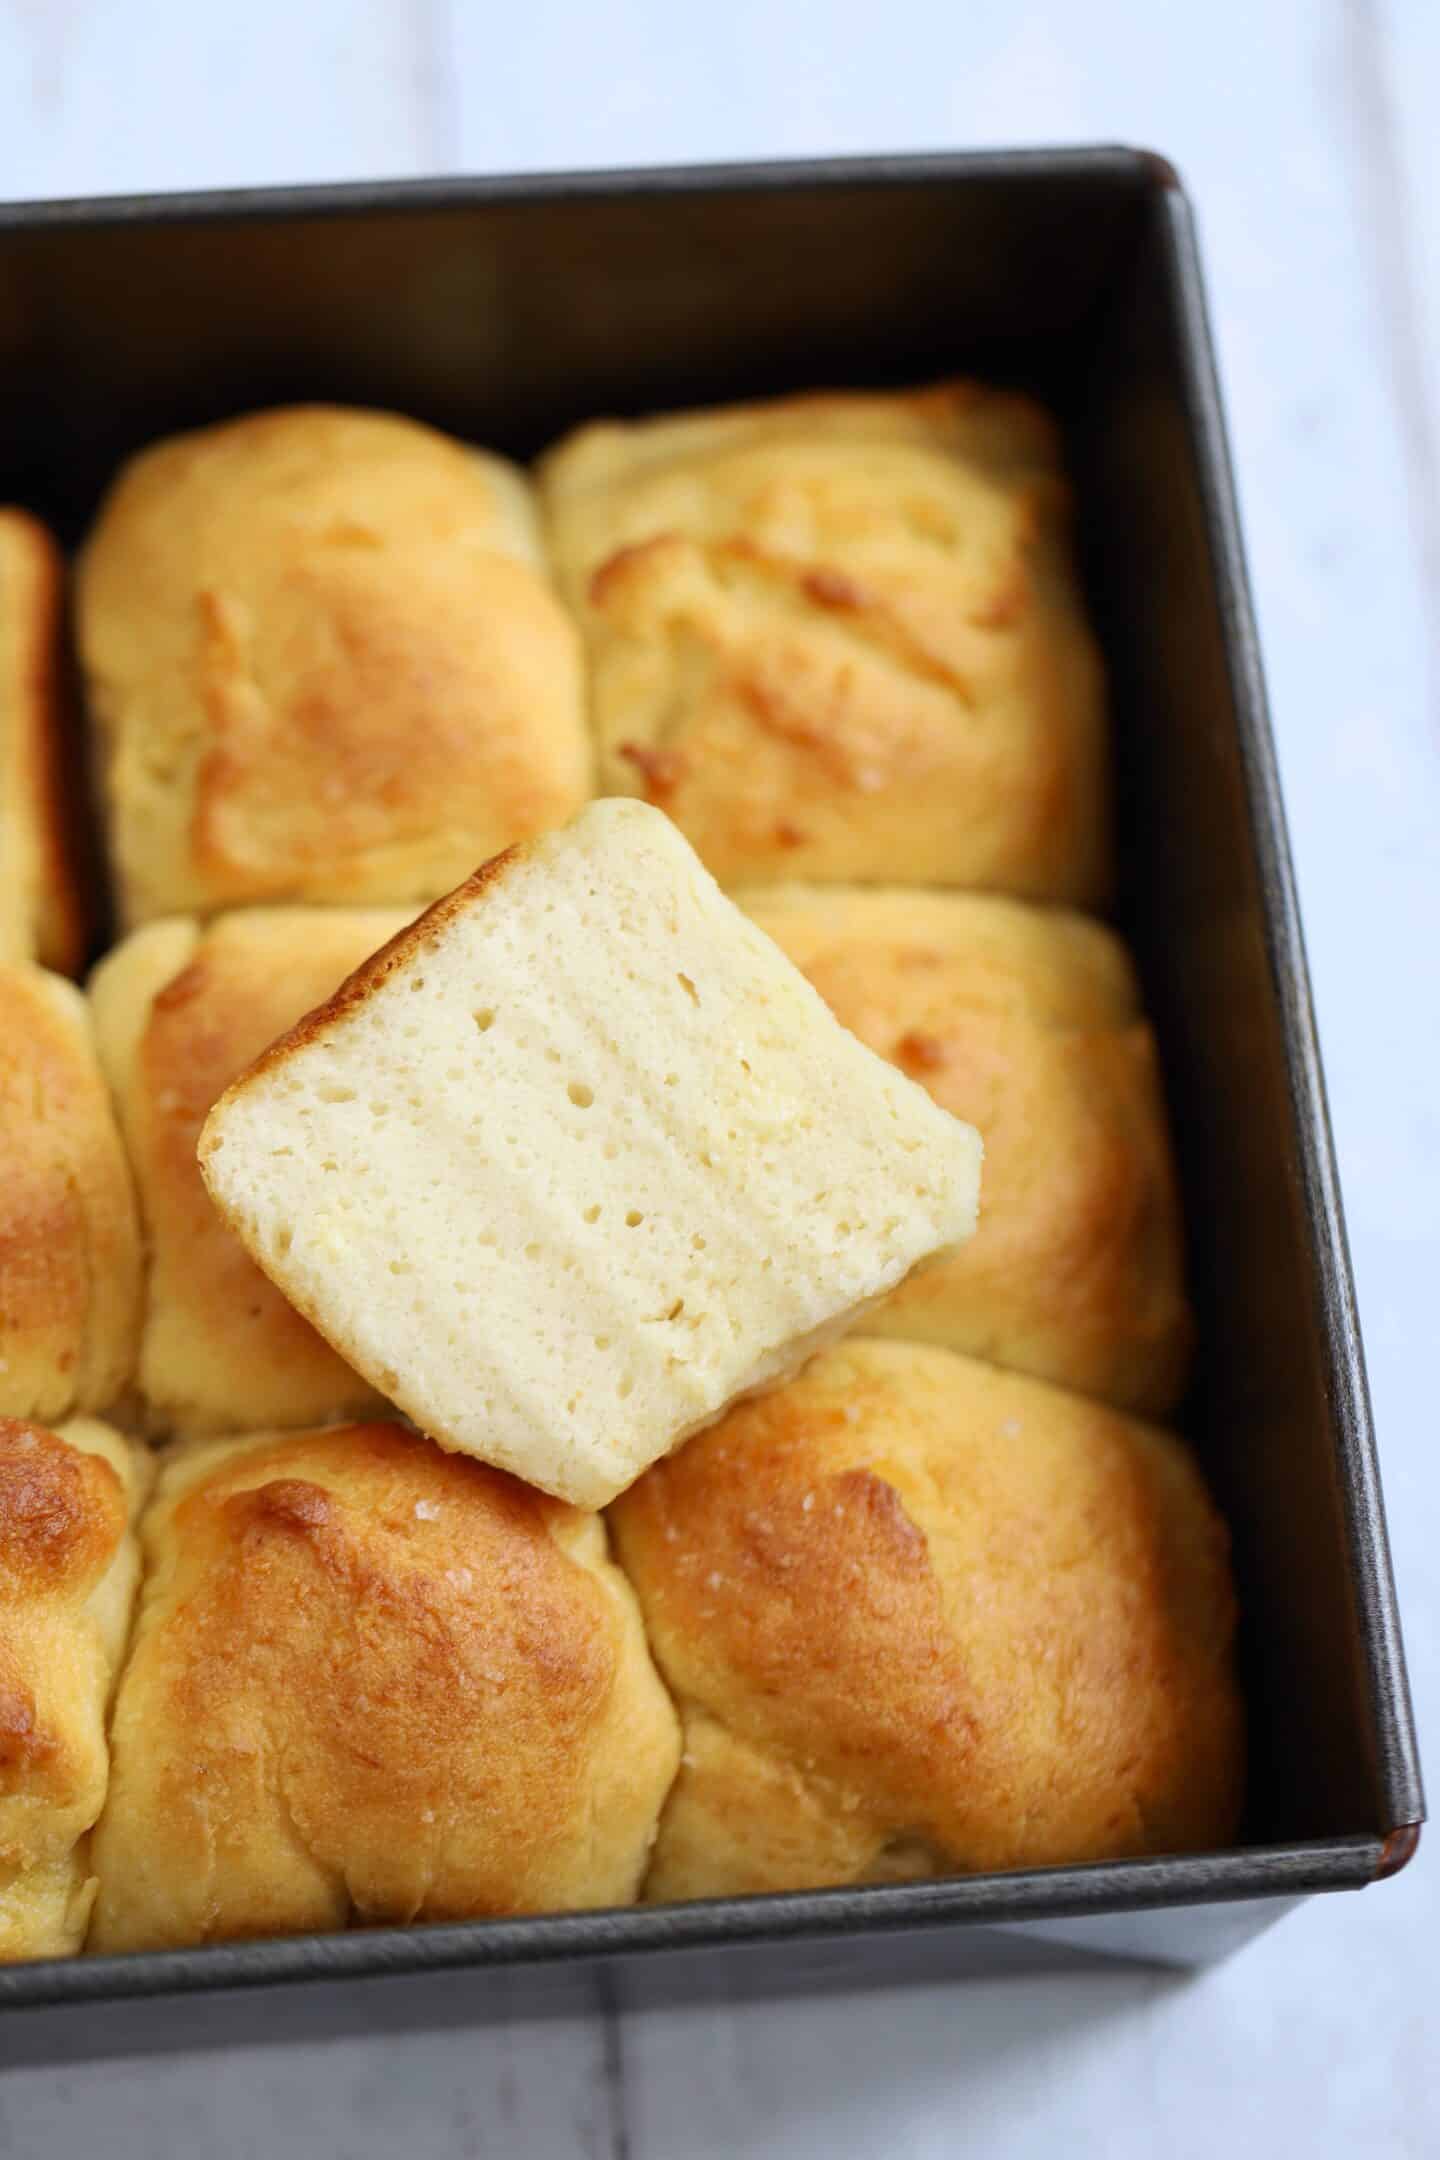
These Gluten Free Hawaiian Rolls are super soft and tender, with a unique sweetness. They are perfect as dinner rolls, for making gluten free sliders or as burger buns. Whip up a batch of these squidgy gluten free buns for your next gathering or celebration!
Gluten Free Hawaiian Rolls aren’t much of a ‘thing’ here in the UK but after spending days nailing the perfect recipe, I am absolutely converted.
These squidgy, soft and fluffy gluten free buns are sweetened with pineapple juice and brushed with butter to keep them extra tender.
The sweetness is subtle enough that they work perfectly with savoury fillings – ideal for making gluten free sliders, as a burger bun or serving up in a basket alongside dinner.
Making fresh gluten free bread at home is NOT as difficult as you might think. I’ve got tonnes of tips, advice and recommended products for you in the post below.
So why miss out on your favourite foods just because you’re on a gluten free diet or have coeliac disease? Try this gluten free Hawaiian sweet rolls recipe and have your mind blown!
Ingredients
There’s a full printable recipe card below, but here’s what you’ll need for the shopping list for this gluten free Hawaiian rolls recipe:
- Pineapple Juice: This adds the distinct sweetness to these gluten free Hawaiian rolls. They have a unique flavour that works so well with savoury and salty filings.
- Caster Sugar: This helps activate the yeast.
- Yeast: Not all yeast is gluten free – I use Allinson’s Easy Bake Yeast or the FREEE Gluten Free Yeast. You will want a dried, quick yeast or instant yeast.
- Psyllium Husk: This natural ingredient is high in fibre and creates a gloopy gel when put in water. It helps make the dough easier to shape and holds moisture so the Hawaiian rolls stay super soft. Make sure you buy whole psyllium husk rather than ground ones.
- FREEE Gluten Free White Bread Flour: I recommend using this flour as I find it works best for gluten free bread. However using a plain gluten free flour does also work in this recipe if you cannot source the bread flour. Ensure you use a gluten free flour blend and not a single flour.
- Xanthan Gum: Essential for getting the right texture and helping shape the dough. Without it your gluten free bread will be crumbly.
- Apple Cider Vinegar: Yeast prefers acidic conditions, so this helps with the rise.
- Vegetable Oil: Any neutral oil will work – try avoid heavily flavoured oils like olive oil.
- Eggs
- Unsalted Butter: Brushing this on top of the rolls before and after cooking helps to keep them super soft. Use a vegan spread if you need this to be dairy free.
How to make Gluten Free Hawaiian Rolls
There’s a printable recipe card below with the method, but here are some step-by-step photos to show you how easy these gluten free Hawaiian rolls are to make.
Step 1: Activate the Yeast
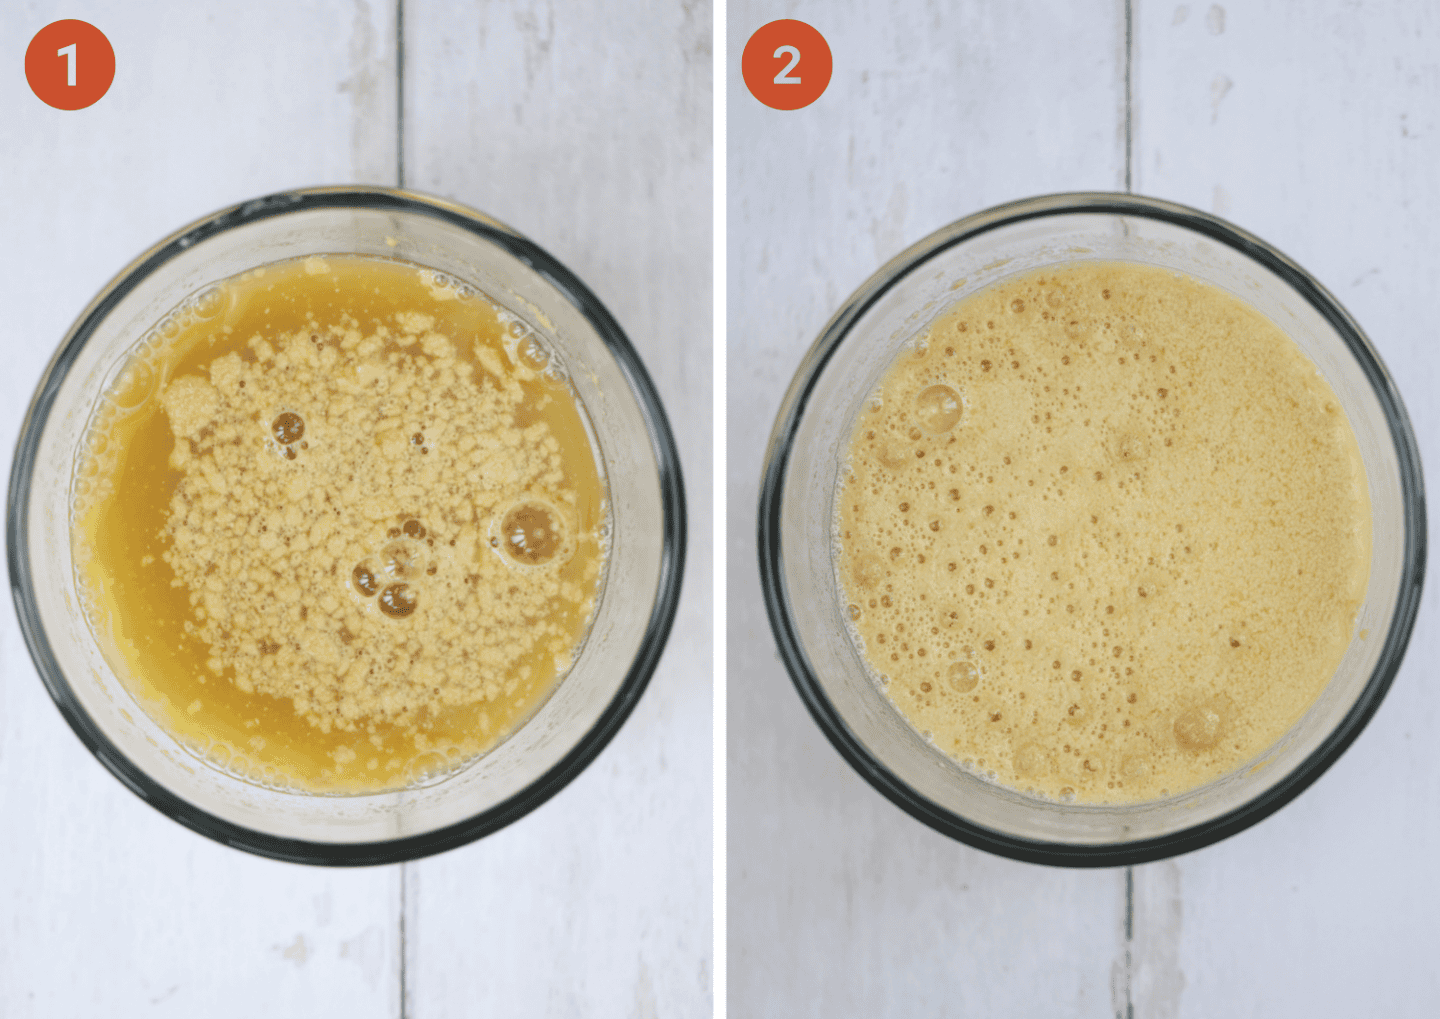
Pour the pineapple juice into a bowl or jug and heat in the microwave to 40C (I recommend a food thermometer but if you don’t have one, it should be warm – not hot – around skin temperature).
Stir the sugar into the pineapple juice then add the yeast and stir again. Cover with a tea towel and leave in a warm spot for 5-10 minutes for the yeast to activate. It should form a lovely froth on top when it’s ready (see above right photo).
Step 2: Make the Psyllium Husk Gel
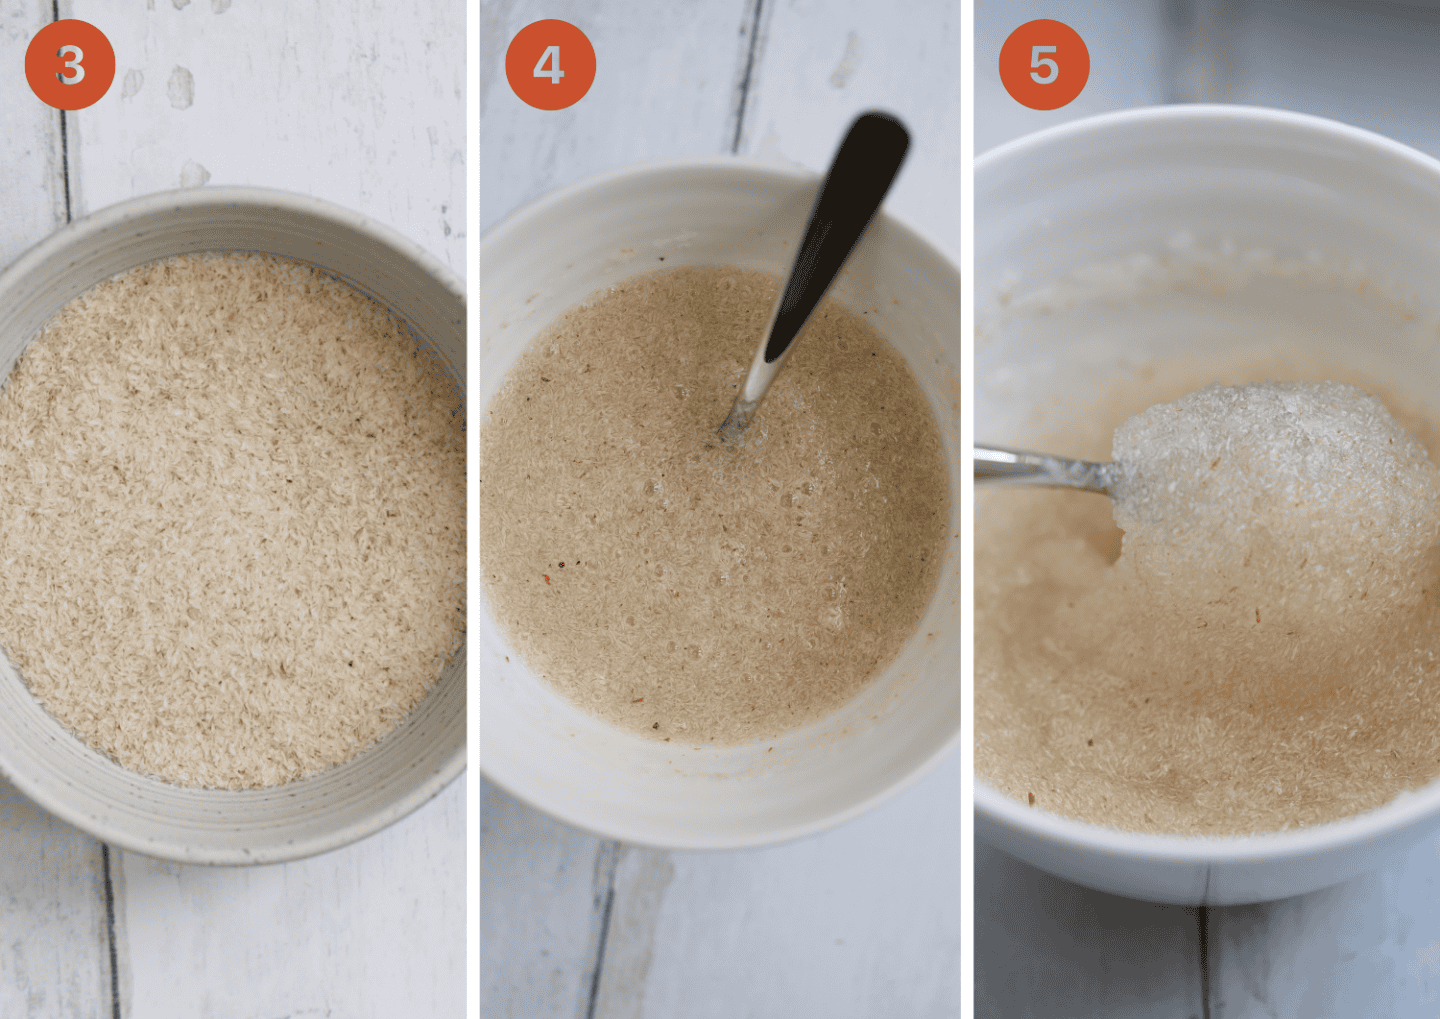
While the yeast is activating, add the psyllium husk to a separate bowl and pour in the warm water. Stir and leave for a couple of minutes until it forms a thick gel.
Add the gluten free bread flour, xanthan gum and salt to a large mixing bowl and stir to mix together. In a separate mug or bowl, add the eggs, oil and vinegar and lightly whisk to combine.
Step 3: Make the bread dough

Once the yeast mixture is active (frothy), add it to the flour along with the egg/oil mixture and the psyllium husk gel.
Using a wooden spoon, beat the mixture together vigorously to combine it into a thick, sticky dough for 2-3 minutes until there are no lumps.
It can be quite tough to mix – use a stand mixer with a hook attachment if you prefer.

Lightly flour the worktop with some gluten free flour and use an oiled dough scraper or spatula to scrape the dough onto the lightly floured surface. It will be quite sticky.
Bring the dough into a rough ball-shape and use the dough scraper to divide it into 9, equal-sized portions.
Lightly flour your hands and gently roll each ball of dough into a ball. Try not to add too much extra flour to the dough – just enough to stop it sticking to you!
Step 4: Prove the dough

Lightly oil an 8 inch (20cm) square cake tin. Place the balls of dough in the tray in three rows of three, with a little space between them.
Cover loosely with oiled clingfilm (plastic wrap), then a tea towel, and leave in a warm, draft-proof spot for around 40-60 minutes until the rolls have expanded a little (see before and after photo above).
Step 5: Bake the Hawaiian rolls

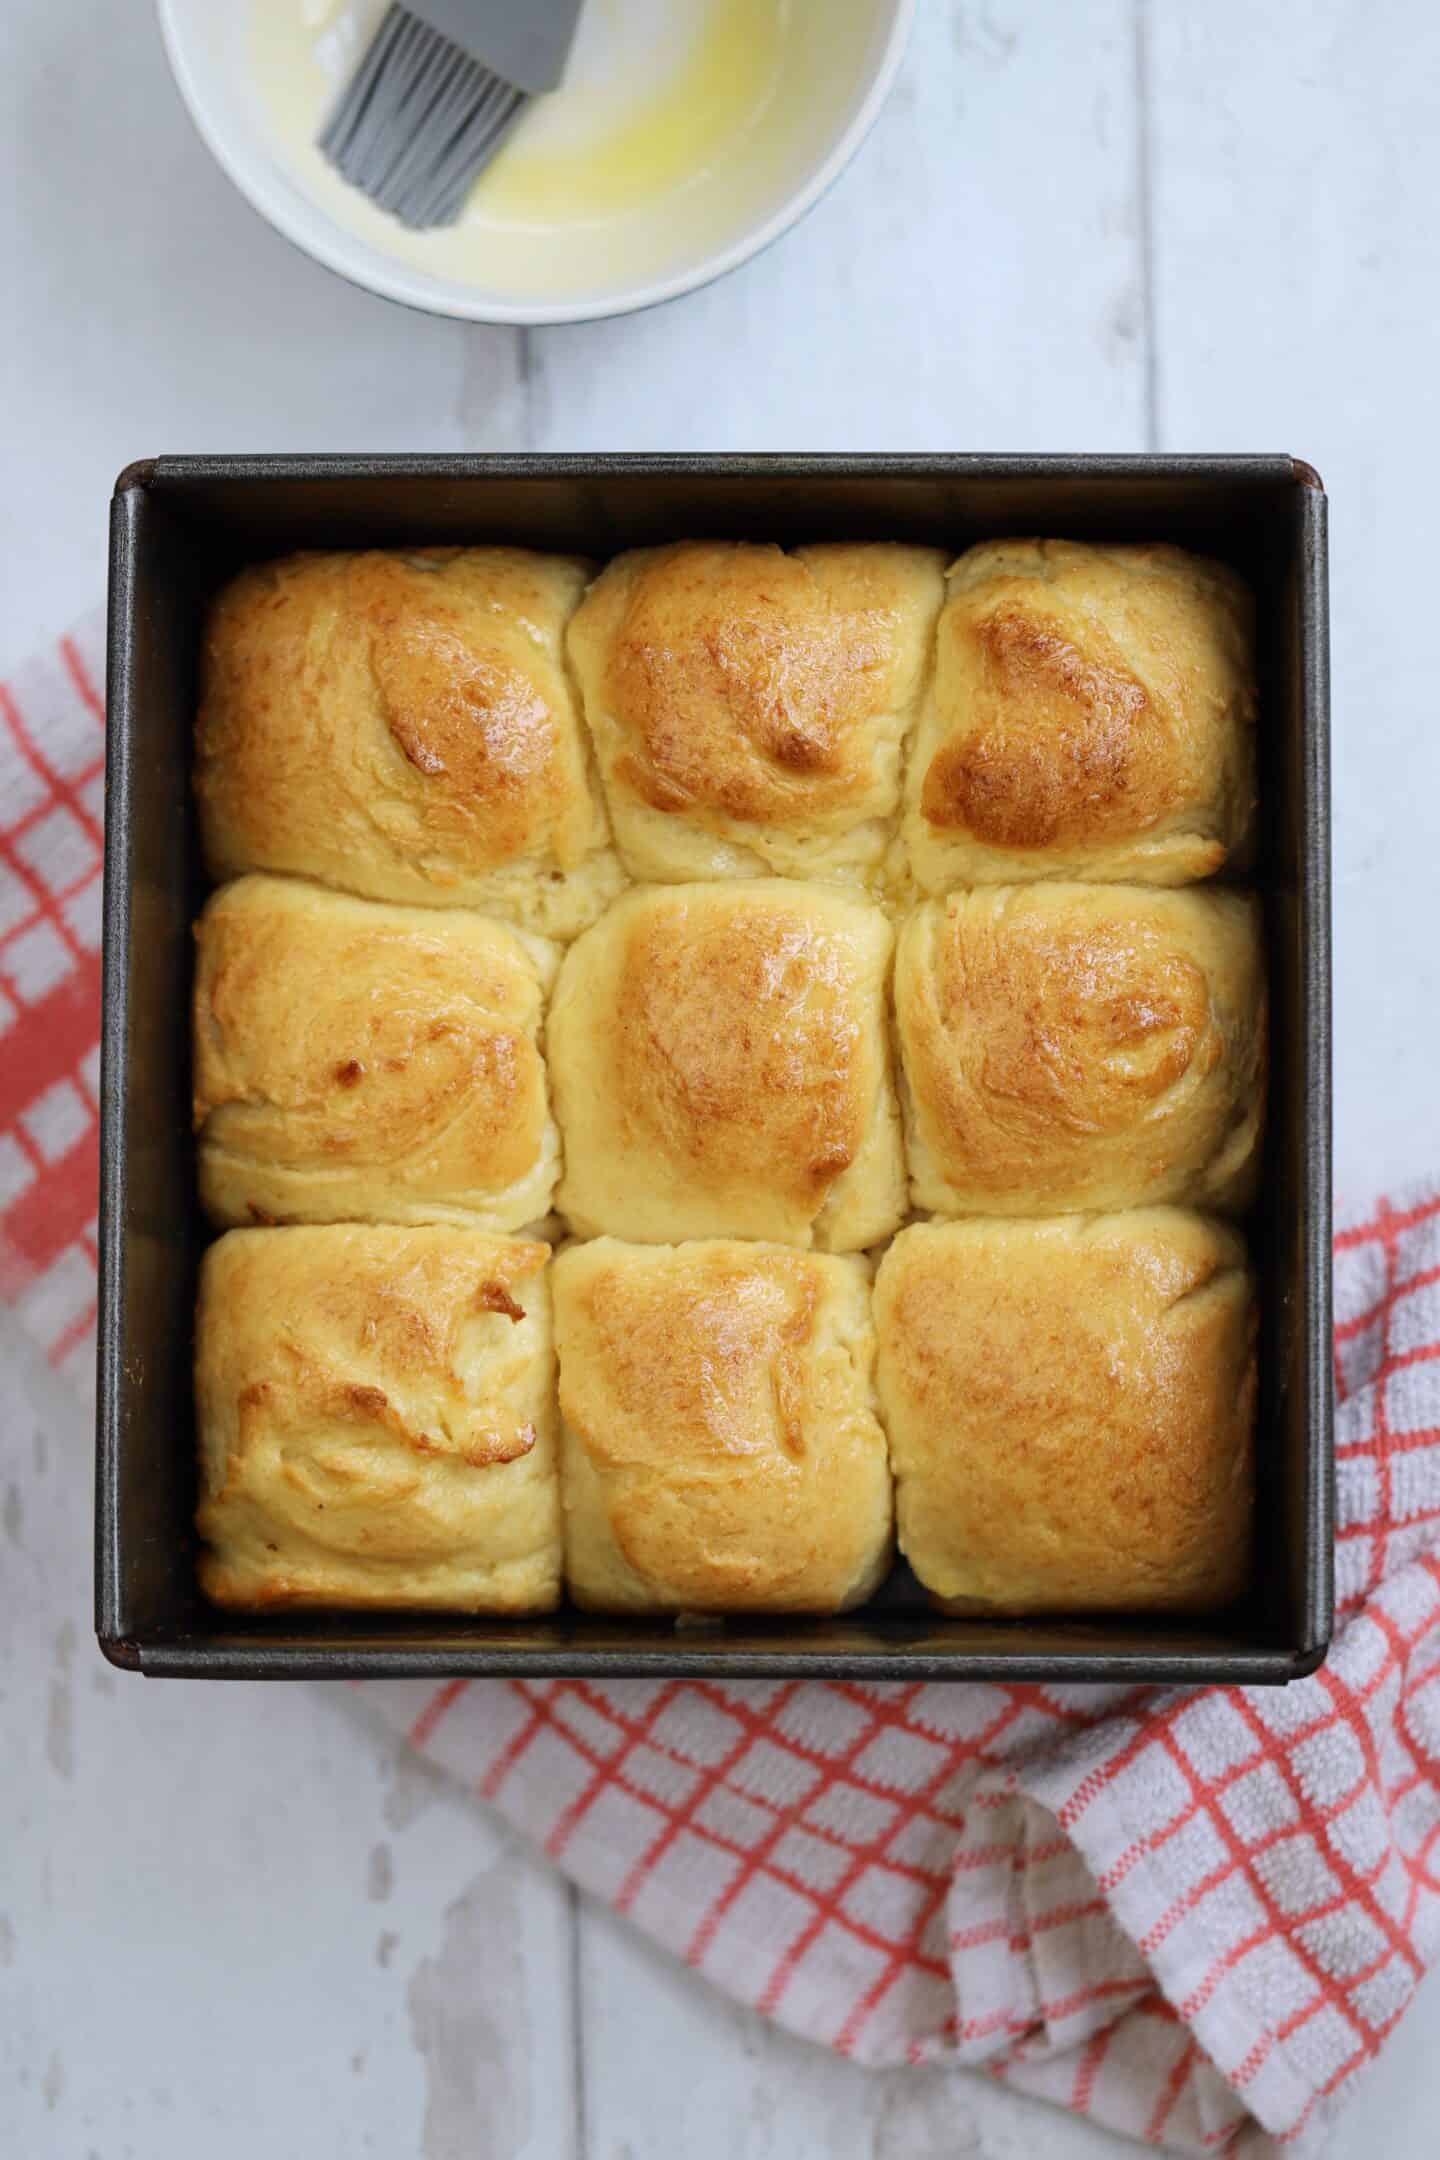
Preheat the oven to 200C / Fan 180C / Gas Mark 6. Remove the clingfilm from the dough, then brush each roll with melted butter.
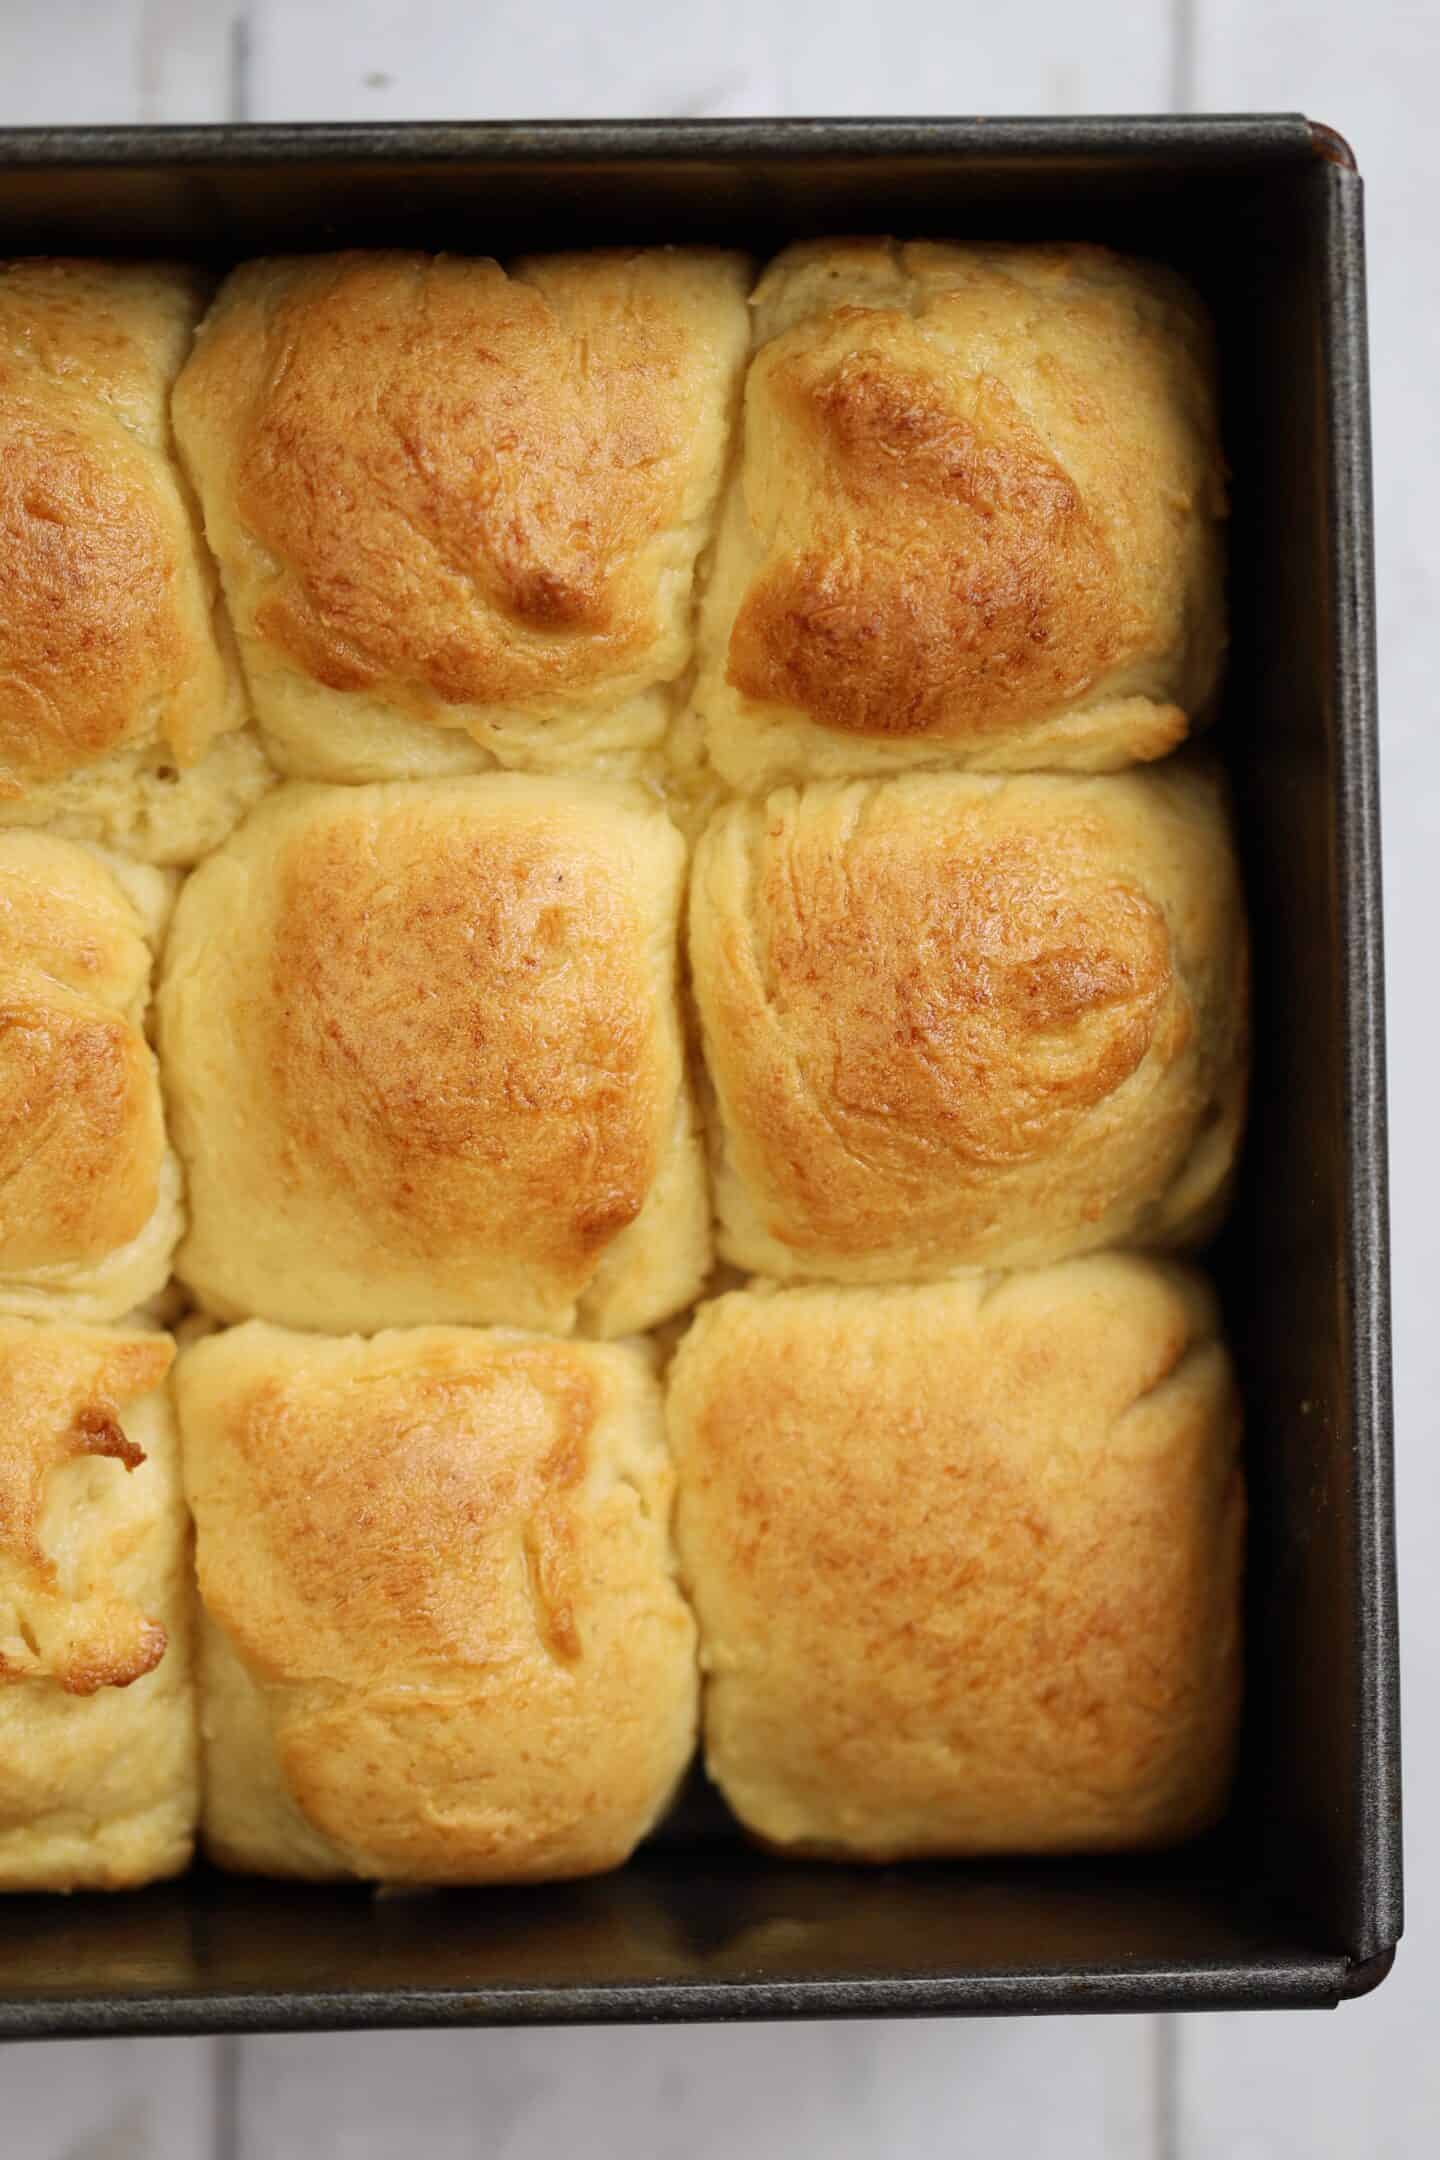
Bake in the oven for 25-30 minutes until golden brown on top.
Remove from the oven and brush with more melted butter straight away. Leave to cool for at least 15 minutes before eating – these are definitely best eaten warm!

Storing and Freezing
These gluten free Hawaiian rolls are great for making ahead – and you can freeze them too.
Once baked, these gluten free buns can be kept in an airtight container for several days. They are definitely best eaten fresh, so I recommend refreshing before eating.
Either microwave them for a few seconds or pop them in a warm oven to refresh before eating, and serve warm.
To freeze these Hawaiian rolls, pop them in a tub or bag and freeze for up to 6 months. As above, I recommend refreshing them and warming through before eating.

More Gluten Free Bread Recipes


If you make this recipe and love it, please do let me know by tagging me on my Instagram or using #theglutenfreeblogger. You can also share your creations in my Facebook group! And please do leave a 5* review ⭐️⭐️⭐️⭐️⭐️ to let others know you loved it too! It would mean the world to me and really helps support my website.

Gluten Free Hawaiian Rolls
Equipment
Ingredients
- 250 ml pineapple juice
- 2 tbsp caster sugar
- 7 g dried yeast
- 10 g whole psyllium husk
- 150 ml warm water
- 400 g FREEE gluten free white bread flour
- 1 tsp xanthan gum
- 1 tsp salt
- 1 tsp apple cider vinegar
- 5 tbsp vegetable oil
- 2 large eggs
- 20 g unsalted butter
Instructions
- Pour the pineapple juice into a bowl or jug and heat in the microwave to 40C (I recommend a food thermometer but if you don't have one, it should be warm – not hot – around skin temperature).
- Stir the sugar into the pineapple juice then add the yeast and stir again. Cover with a tea towel and leave in a warm spot for 5-10 minutes for the yeast to activate. It should form a lovely froth on top when it's ready.
- While the yeast is activating, add the psyllium husk to a separate bowl and pour in the warm water. Stir and leave for a couple of minutes until it forms a thick gel.
- Add the gluten free bread flour, xanthan gum and salt to a large mixing bowl and stir to mix together. In a separate mug or bowl, add the eggs, oil and vinegar and lightly whisk to combine.
- Once the yeast mixture is active (frothy), add it to the flour along with the egg/oil mixture and the psyllium husk gel. Using a wooden spoon, beat the mixture together vigorously to combine it into a thick, sticky dough for 2-3 minutes until there are no lumps. It can be quite tough to mix – use a stand mixer with a hook attachment if you prefer.
- Lightly flour the worktop with some gluten free flour and use an oiled dough scraper or spatula to scrape the dough onto the worktop. It will be quite sticky.
- Bring the dough into a rough ball-shape and use the dough scraper to divide it into 9, equal-sized portions. Lightly flour your hands and gently roll each ball of dough into a ball. Try not to add too much extra flour to the dough – just enough to stop it sticking to you!
- Lightly oil an 8 inch (20cm) square cake tin. Place the balls of dough in the tray in three rows of three, with a little space between them. Cover loosely with oiled clingfilm, then a tea towel, and leave in a warm, draft-proof spot for around 40-60 minutes until the rolls have doubled in size.
- Preheat the oven to 200C / Fan 180C / Gas Mark 6. Remove the clingfilm from the dough, then brush each roll with melted butter. Bake in the oven for 25-30 minutes until golden brown on top.
- Remove from the oven and brush with more melted butter straight away. Leave to cool for at least 15 minutes before eating – these are definitely best eaten warm!
Notes
Nutrition
Frequently Asked Questions
Here are some FAQs about this Hawaiian bread rolls recipe – if you can’t find the answer to your question here or in the post above, please comment and I’ll try answer!
I am based in the UK and there are several yeast products here which are gluten free and readily available. I always use either the Allinson’s Easy Bake Yeast or the Dove’s Farm Quick Yeast.
You can also use the Allinson’s Time Saver Yeast, though be aware that you may not need to prove the dough for as long if you use this.
The Dove’s Farm one is certified gluten free and found in the free from aisle. The Allinson’s yeasts are free from gluten and can be found with the ‘regular’ baking goods.
Usually Hawaiian rolls – as with all bread – are made with wheat flour so is not gluten free. I’ve never seen Hawaiian rolls in UK supermarkets, but in the US you can buy gluten free Canyon Rolls Hawaiian Sweet Rolls.
If you want to make gluten and dairy free Hawaiian rolls, simply use a vegan butter instead of normal butter to brush the rolls. Otherwise the recipe is dairy free. This recipe does use eggs so is not vegan – and I haven’t trialled it with an egg replacer.
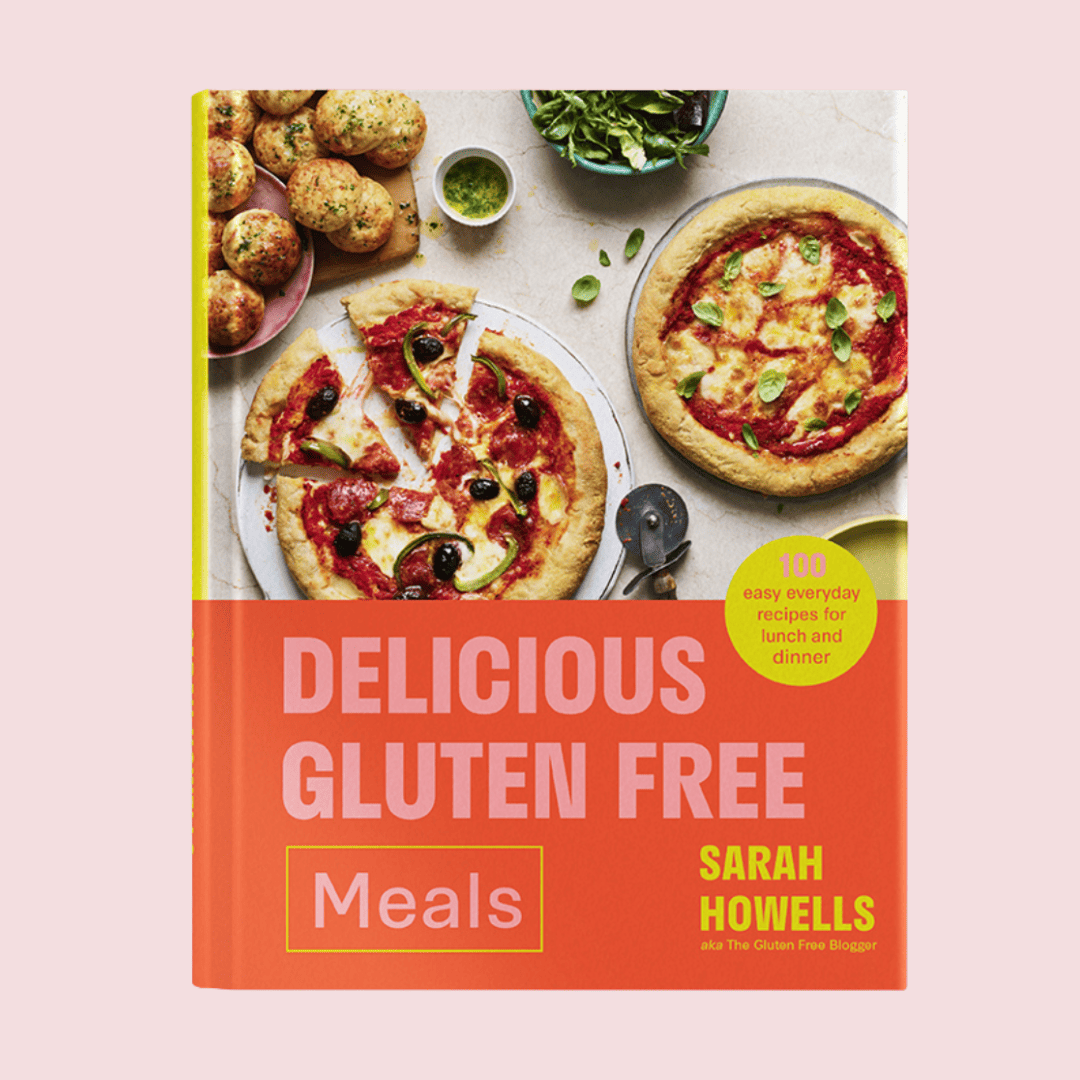
Get my cookbook!
Want more gluten free meals inspiration? My debut cookbook, Delicious Gluten Free Meals, has 100+ gluten free recipes, from breakfast and lunch ideas to dinners, desserts and sides.


YUM! I think they were a bit dry because i used all purpose flour instead of bread flour, but still very soft and delicious 🙂 Thank you so much for this amazing recipe!
This is the first recipe of yours I have been unable to make. I have tried twice and they don’t seem to rise so just taste of dough. Will try again though.
Hello…
Can I substitute milk or water for the pineapple juice? I would like to have a mor neutral flavour.
I’d recommend making my bread rolls recipe instead – they’re similar, but these Hawaiian ones are made using pineapple juice. 🙂